
During the right winter break from our sailing, perhaps comfortably moored in the harbor, what better way to spend the time than making modifications and improvements to the boat’s equipment while maybe learning something new? A splice might be just what you need.
There are different types of splices, each with its own complexities. Every respectable sailor should know at least a couple! But do not worry if you think you do not know any because, with this precise and detailed guide, you will easily learn one of the simplest: the locked loop splice.
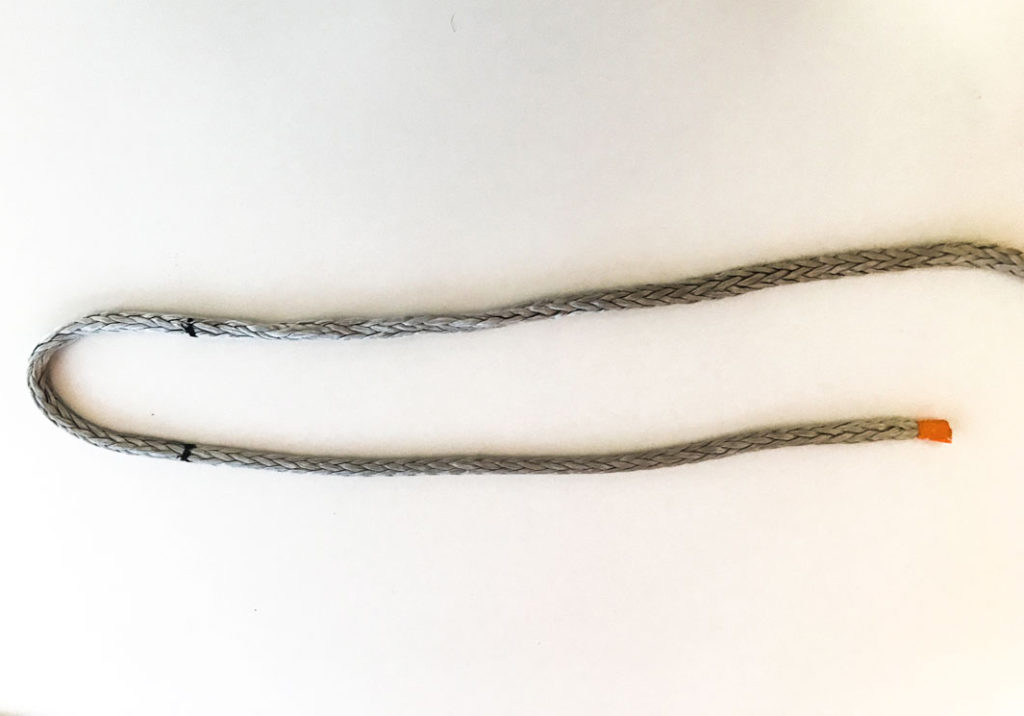
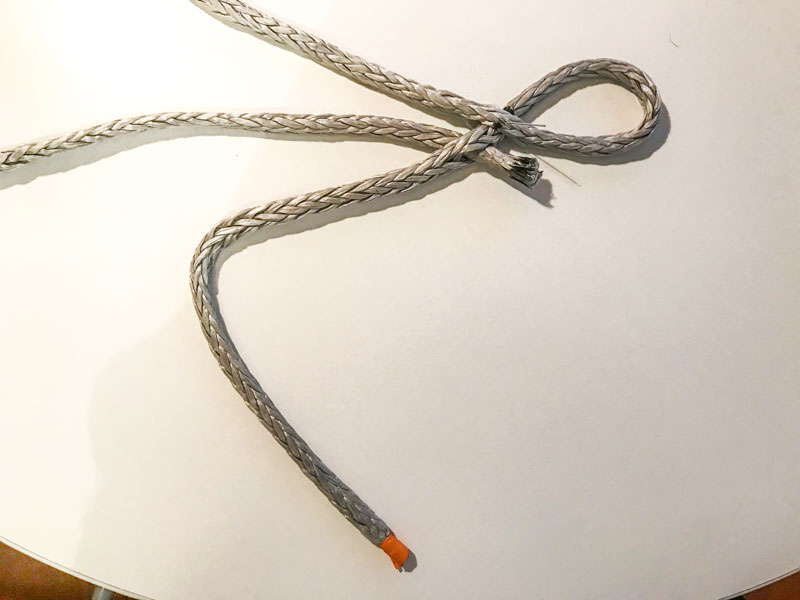
This type of splice is made on dyneema ropes whose terminal alternates phases of constant load and phases of tearing, as happens, for example, with the ends of sheets to be rigged on the clews.
Let’s See What is Needed to Make it:
Tape measure
Marker
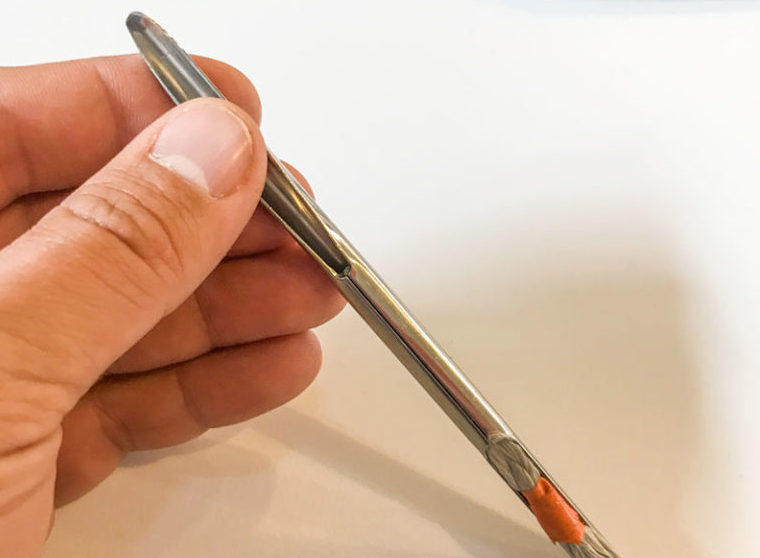
Splicing fid
Sewing needle
Knife or scissors with blades suitable for cutting high-strength materials
Tape
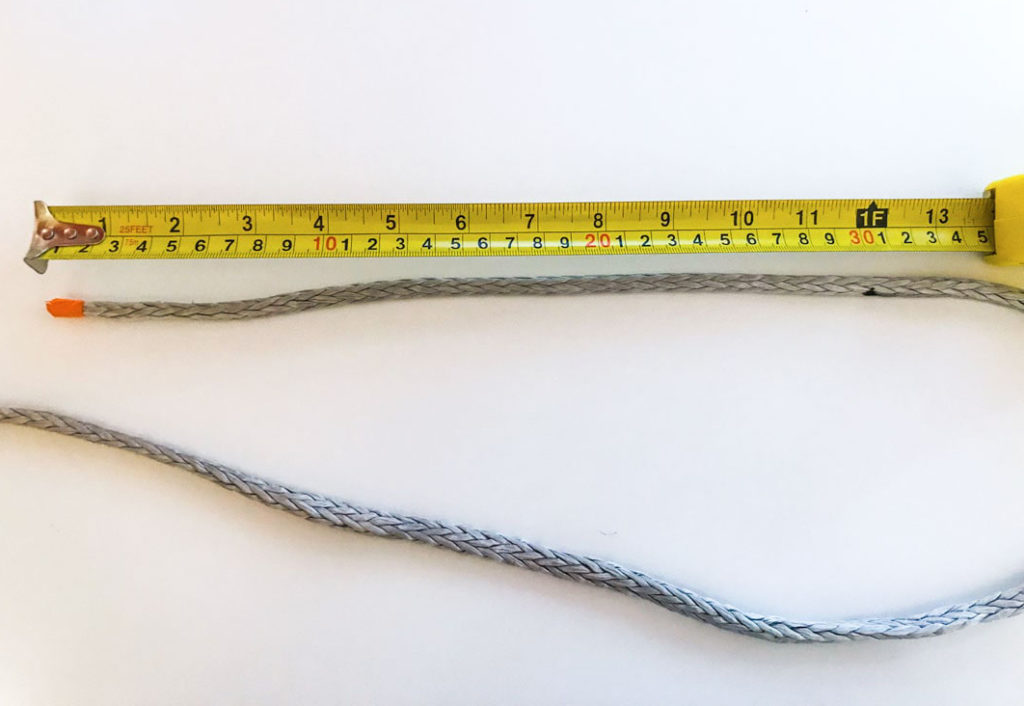
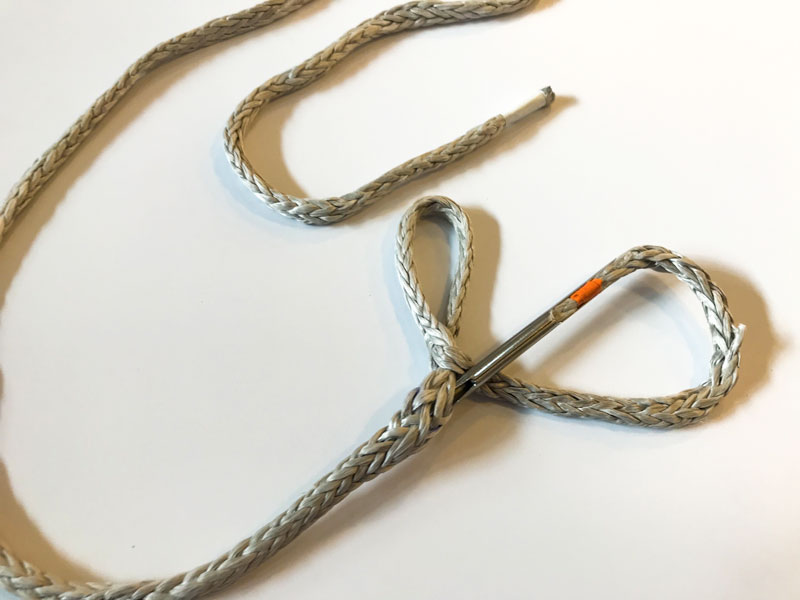
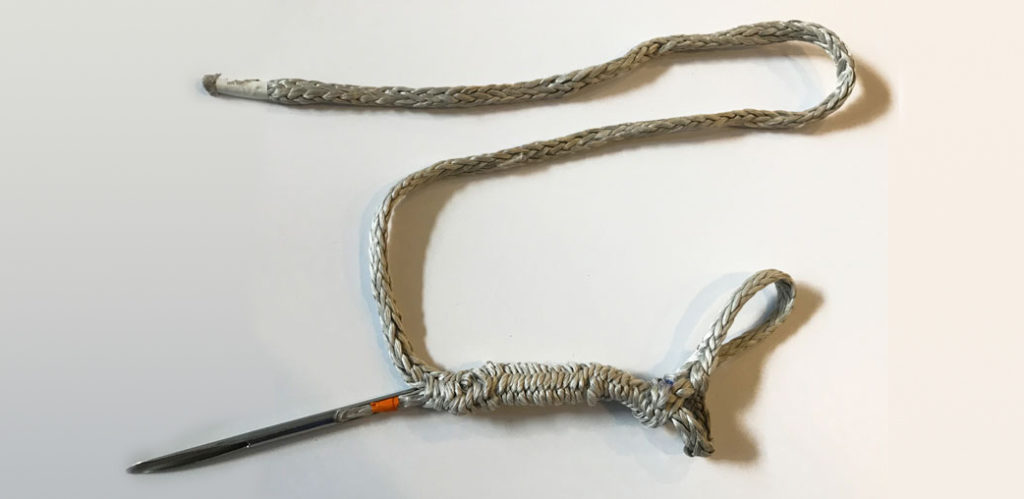
First of all, measure a distance of 300 mm from the dead end of the rope (result obtained from a 6 mm diameter dyneema using the following calculation: ROPE DIAMETER * 50), then make a mark with the marker. Add another mark, going upwards, at a distance equal to the diameter of our loop.
Now, using the fid, insert the dead end (with the orange mark inside the dyneema at the height of our second mark, inserting the rope up to the other mark you made earlier. Finally, lock everything with a sewing needle.
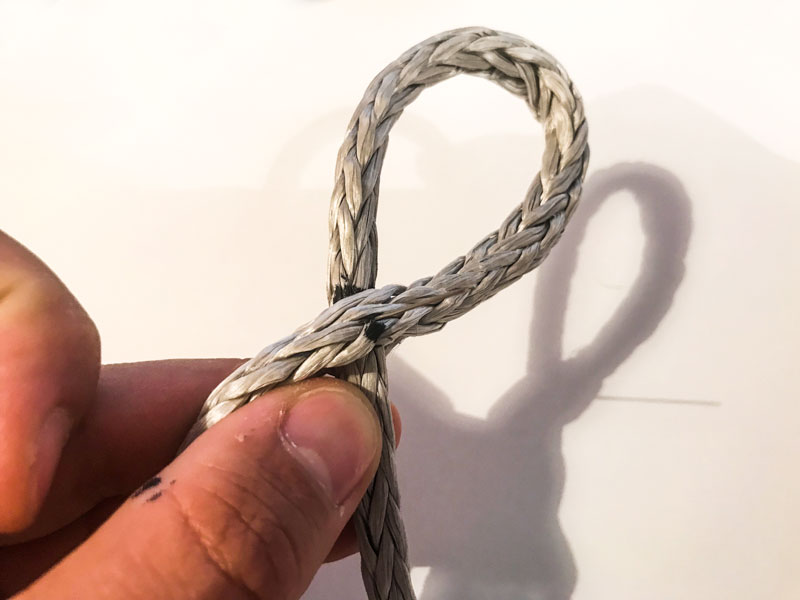
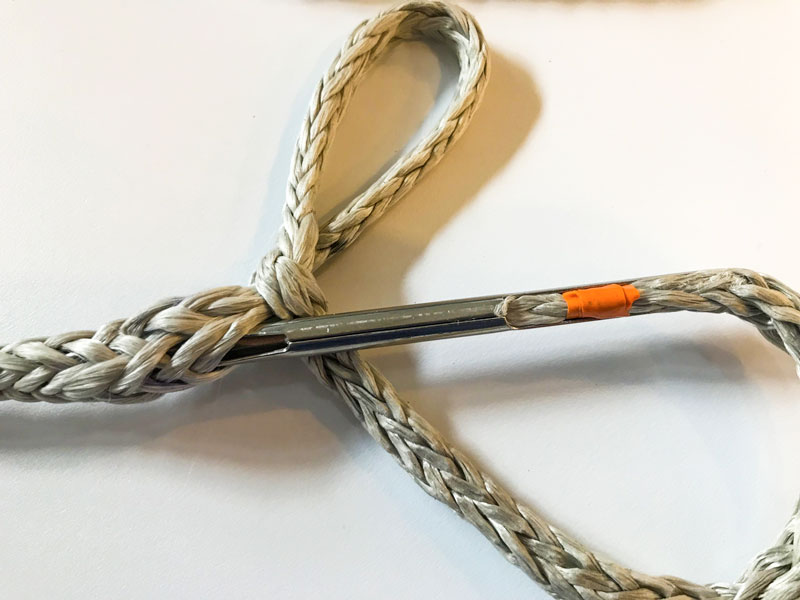
Repeat the same operation just below the first pass but reverse the parts; the other end (black) will pass through the section of the orange end. Pull both ends to choke the loop.
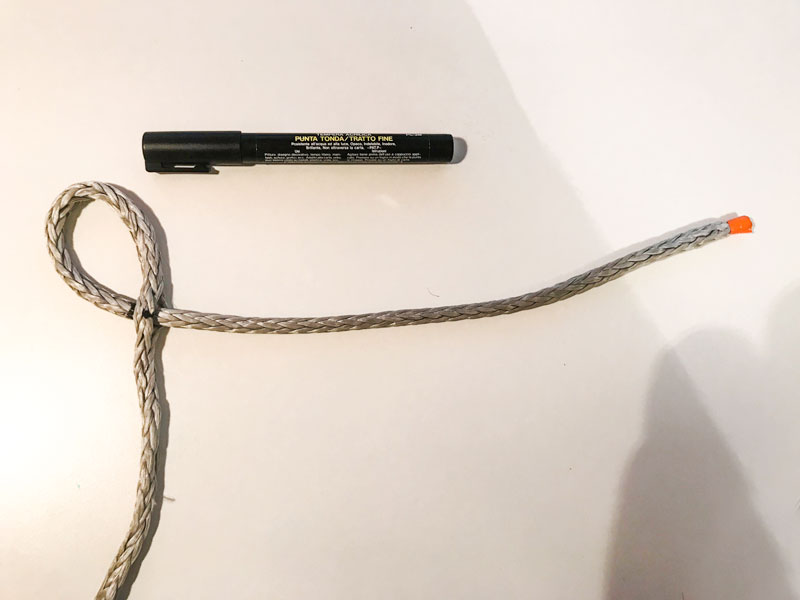
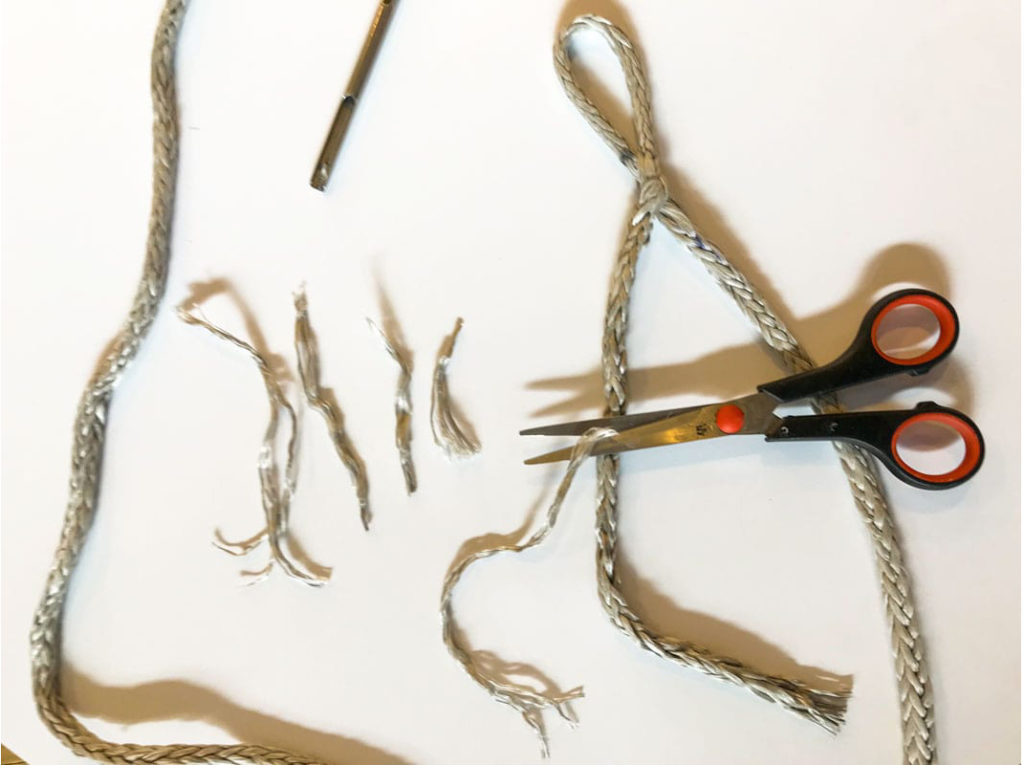
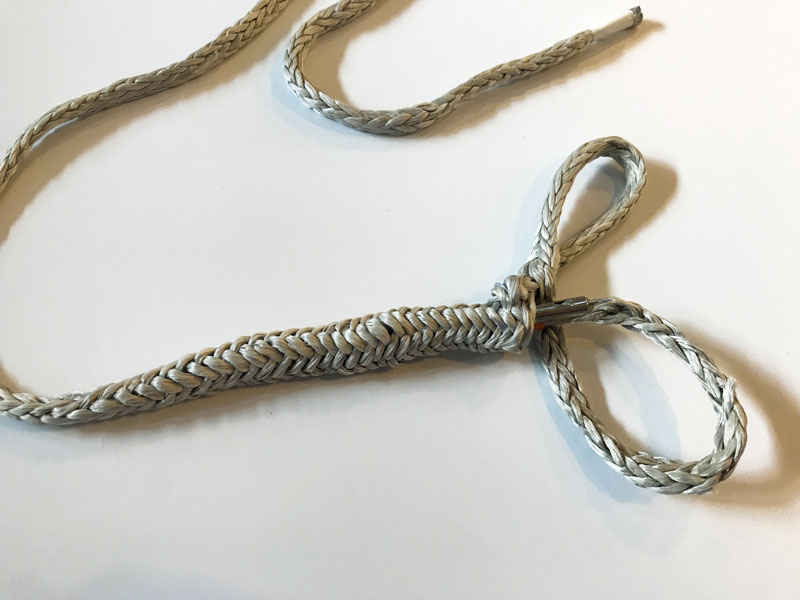
Now you can remove the orange tape and reduce the rope by cutting some parts of the dyneema that make up the braid.
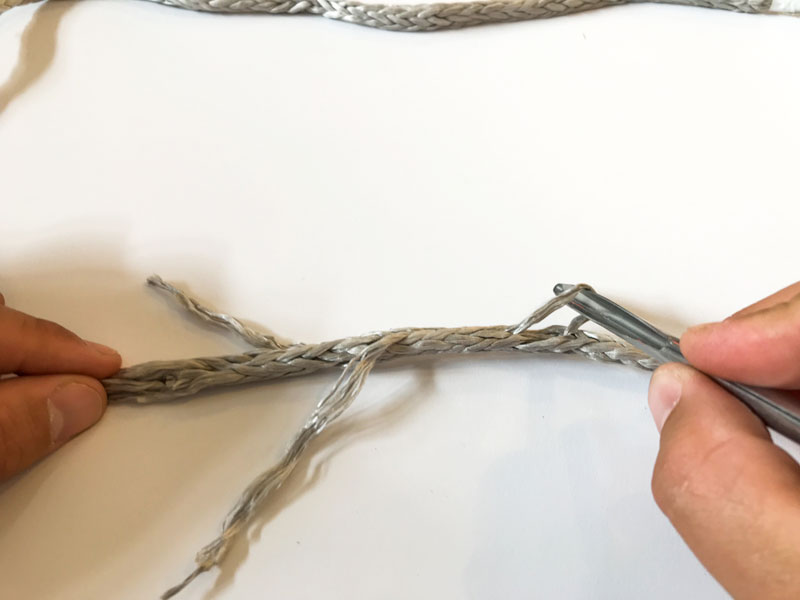
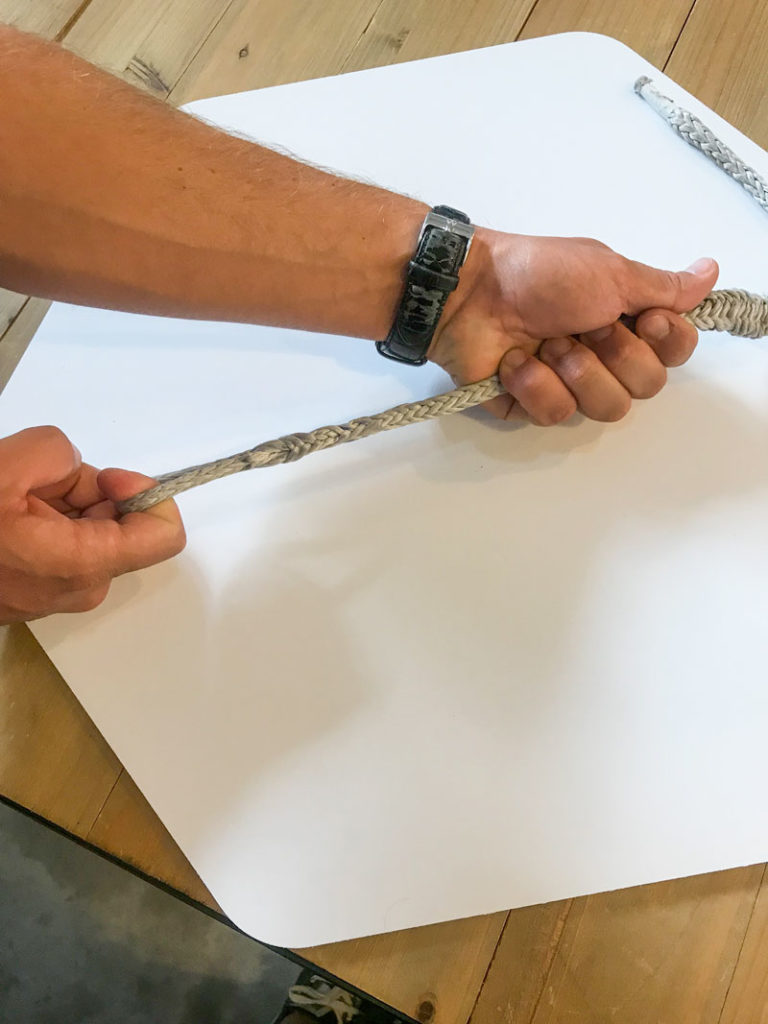
Place the tapered end in the non-pointed part of the fid, the small tooth inside will ensure that it remains locked.
Then, insert and slide the orange end with the fid inside the body of the black end.
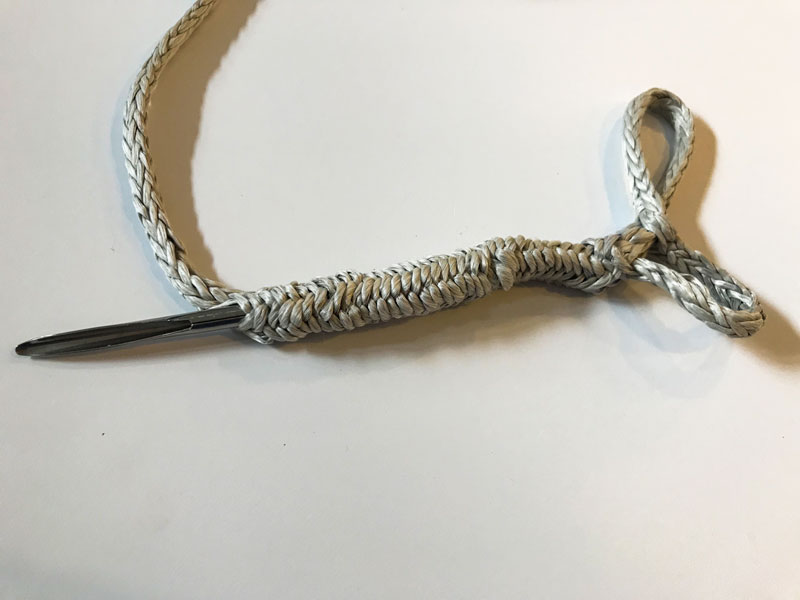
Finally, remove the fid and suck in the excess. Here is your splice ready to be used.
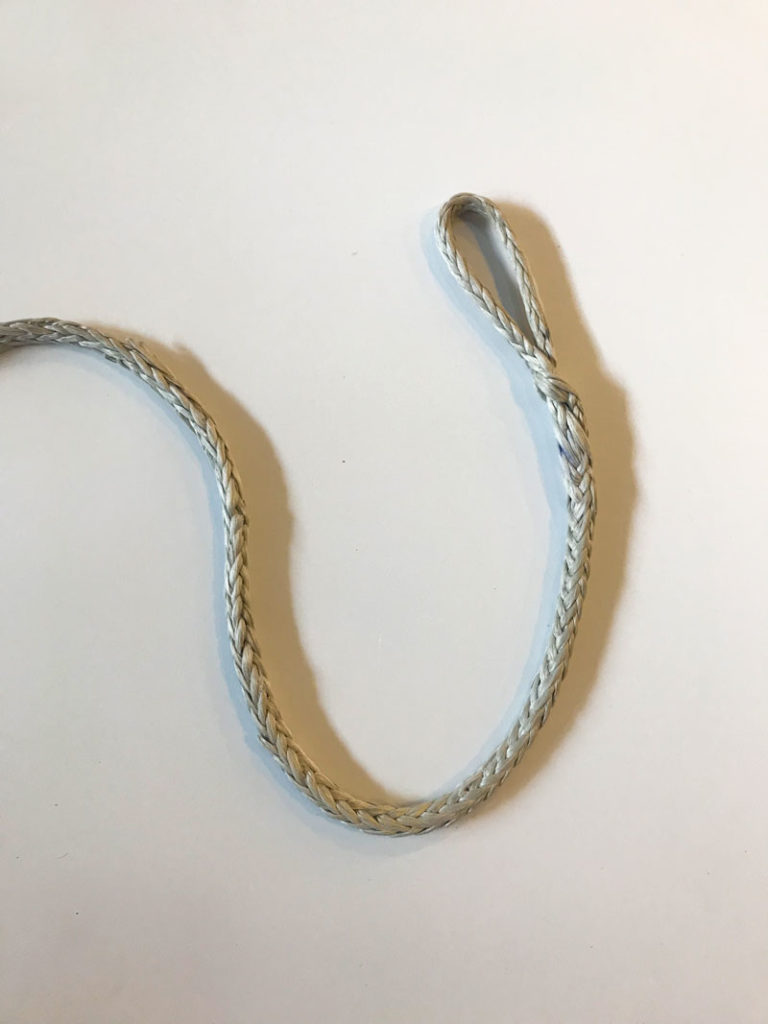
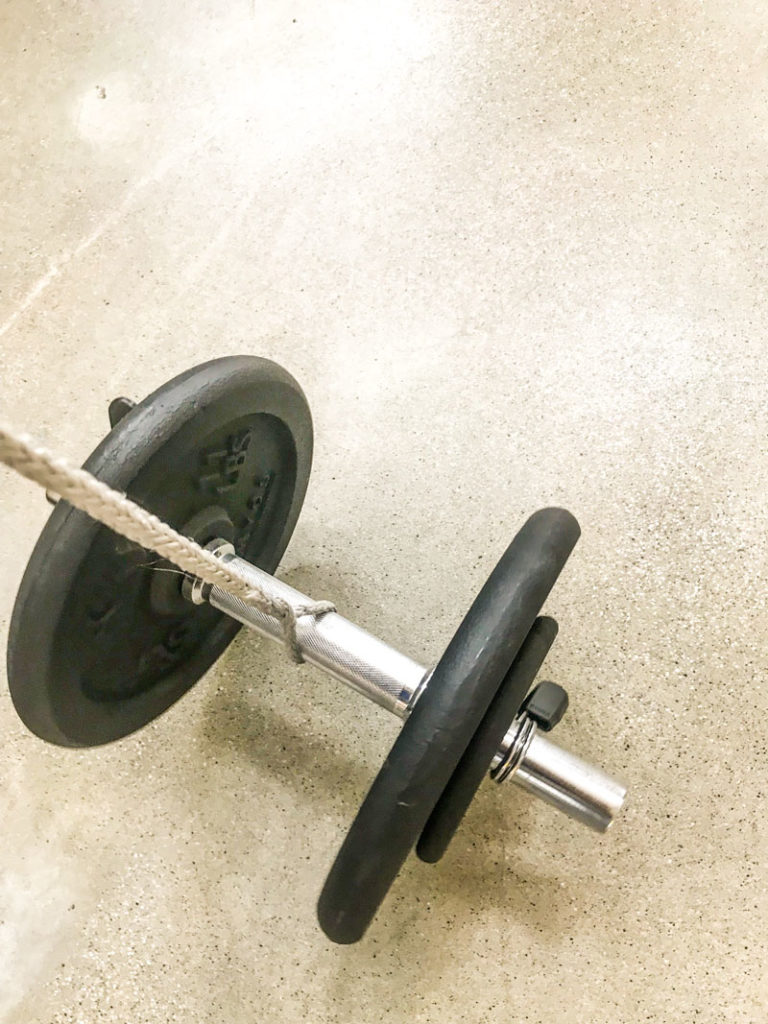
All splices follow the principle of choking, by compression, of the rope inside itself, putting our dyneema body under load it will tighten, acting as a real stopper.
Moreover, the double turn under the loop will prevent the dyneema from slipping, so when the rope is not under tension, there will be no risk of it coming undone even without stitching.