Since the dawn of navigation, the first rule adopted to ensure the safety of sailors is very simple: avoid falling overboard at all costs, and this is where lifelines come into play. Indeed, nowadays we can rely on various devices that help prevent falling overboard, starting with
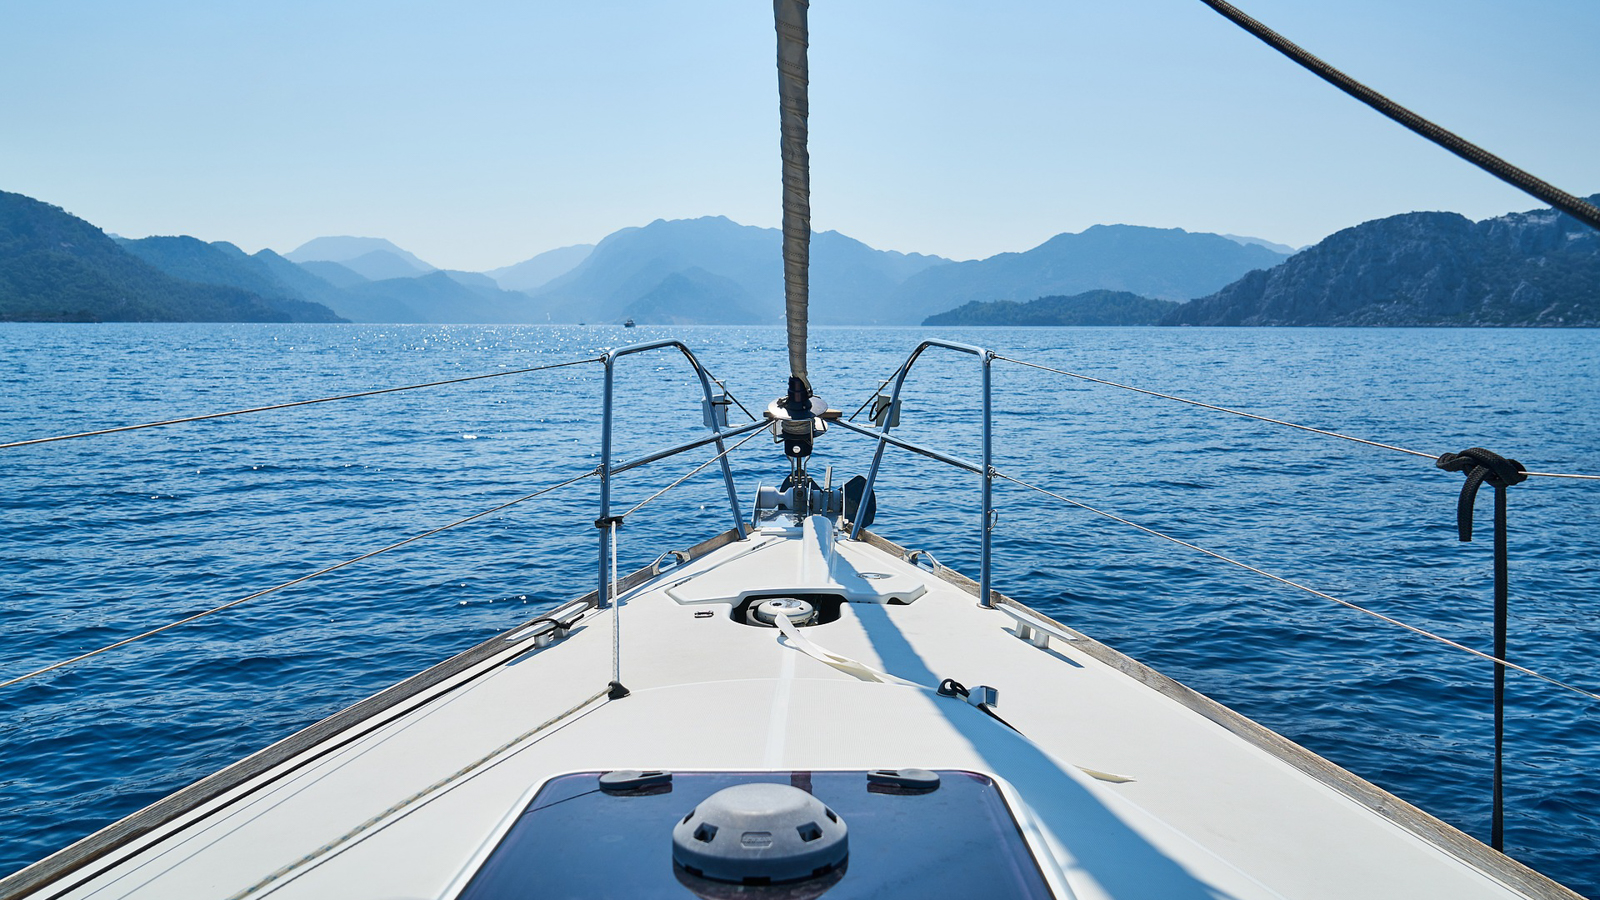
Lifelines, guardrails, stanchions: a bit of terminology
Not everyone is a seasoned sailor, and not everyone refers to parts of the boat with the same words. Here in our marina in Genoa, we often notice this: nautical terminology always hides some little pitfalls, some possibilities for misunderstanding or misinterpretation. So it’s worth quickly reviewing some terms. The term guardrail refers to the set of “barriers” installed along the boat to prevent falling overboard. On larger boats, guardrails usually reach 70 centimeters, while on smaller hulls, one must settle for guardrails around 50 centimeters: hence, one tends to move along the boat with an even lower center of gravity. The
Routine maintenance of lifelines: how to make them last longer
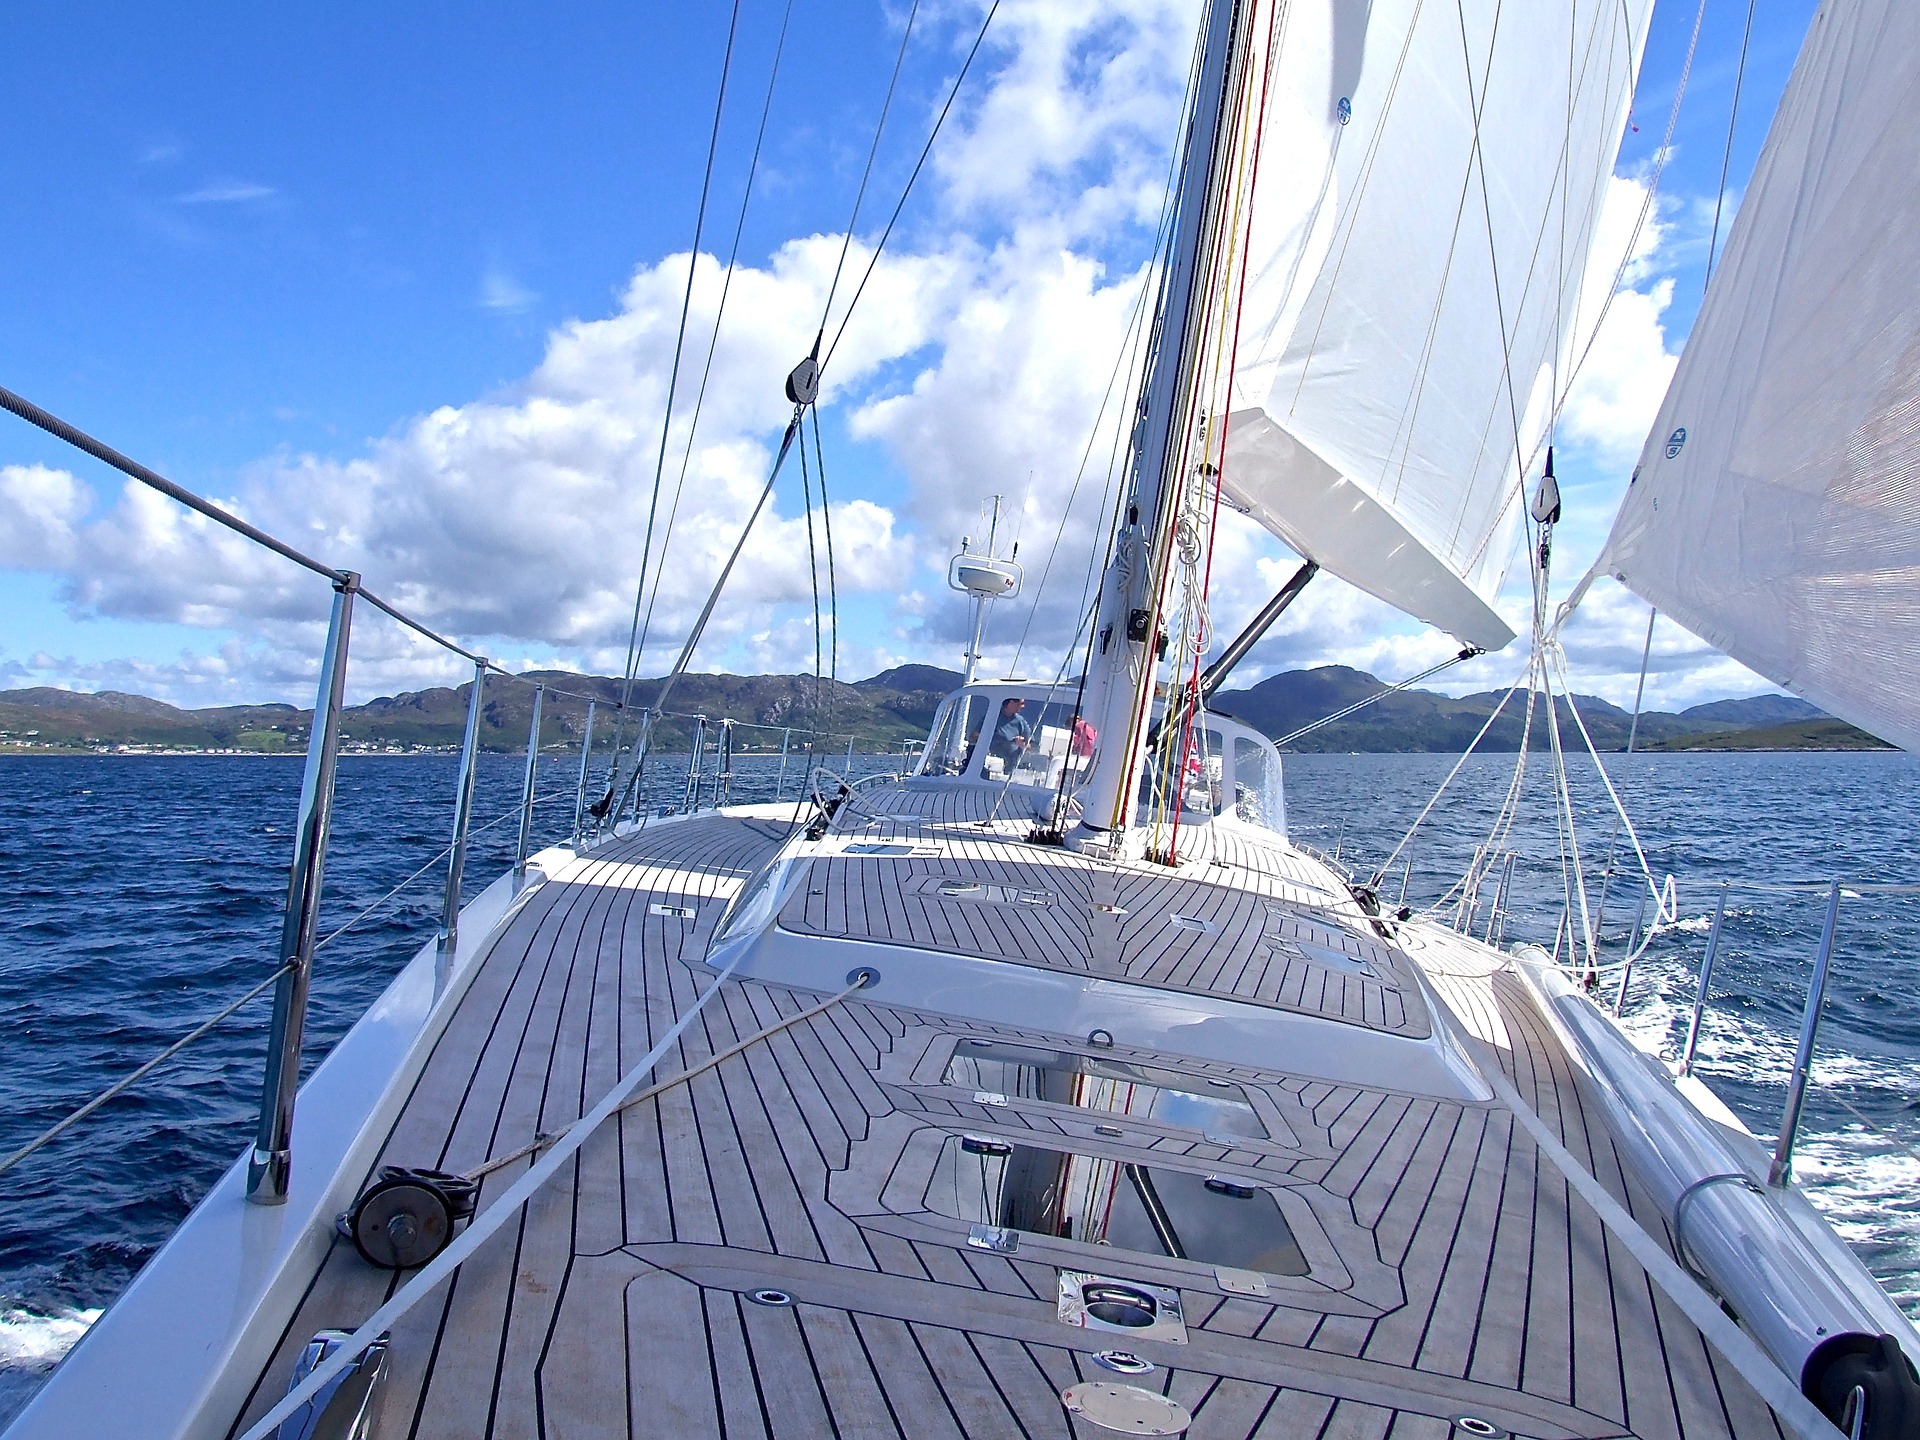
How to prolong the life of lifelines, keeping them functional and safe over time? First of all, it’s good to know the threats that can damage these cables, typically made of coated steel wire. The sheath can crack due to the sun, while the metal can rust due to humidity. What can be done is to occasionally clean the lifelines and the guardrail system with fresh water, to at least remove the salt. It would also be good to keep the lifelines taut but not excessively, so as not to constantly stress them; to avoid overloading them, it can be a good practice to attach fenders not to the lifeline, but to the stanchion (preferably at the bottom, so as not to strain this vertical element either).
And then there’s the need for regular observation, looking for points where the sheath is failing, or oxidations, cable strands protruding (dangerous for hands and possibly even sails), loosenings, broken bushings, and so on. When problems of this type are identified, it’s good to intervene with localized repairs or with the total replacement of the lifelines. 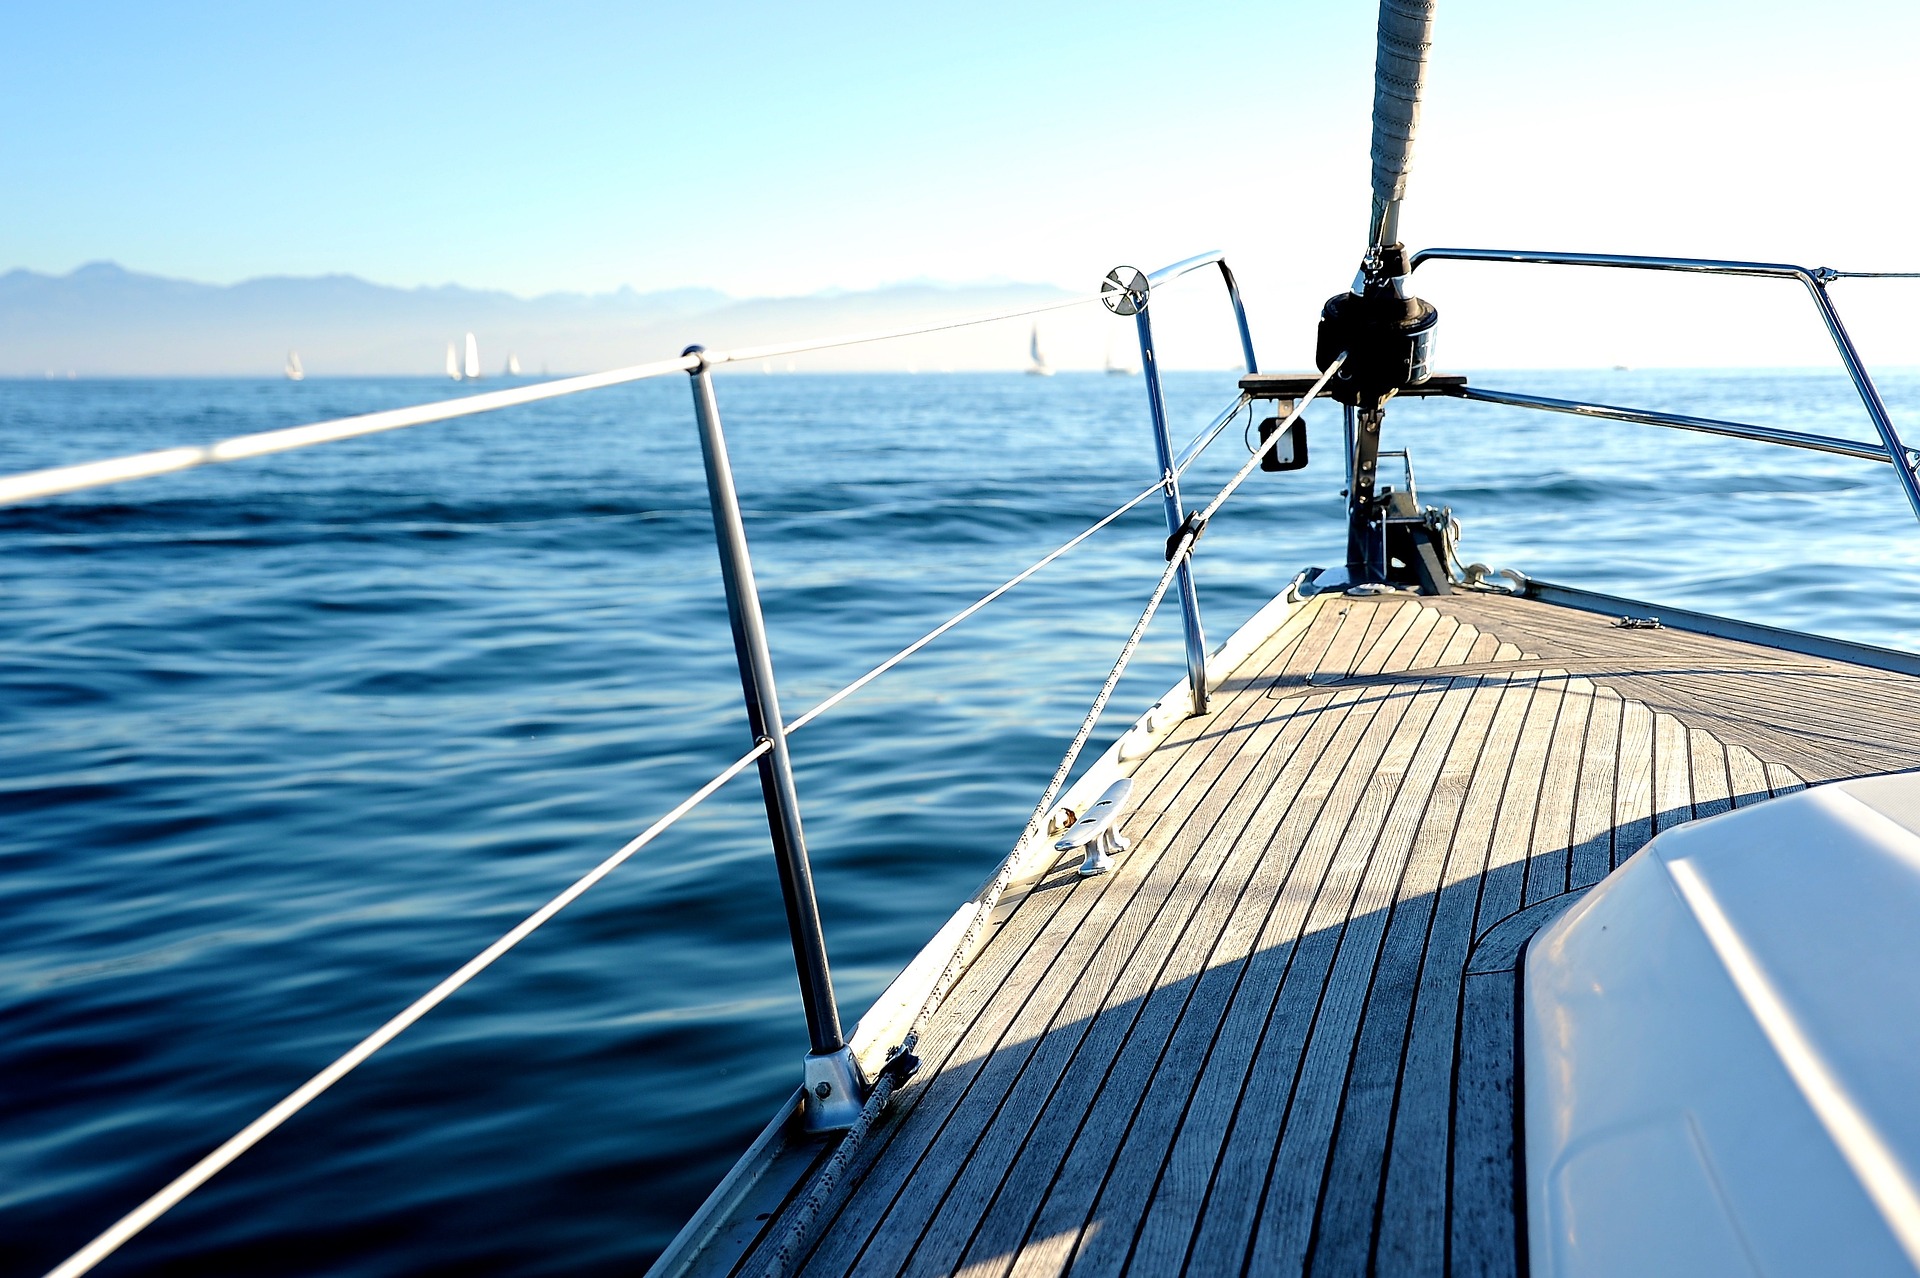
Replacing lifelines: which cables to choose
And if one decides to replace the lifelines, what type of cable should be chosen? The perfect solution does not exist. The classic coated steel cable ensures excellent comfort and is not dangerous for rubbing against hands, sails, or clothes. But the coating dries, hardens, and cracks over time. There’s also the option of
Replacing lifelines, in practice
Without a doubt, the most convenient option would be to entrust the replacement of the lifelines to professionals, and therefore to riggers who can perfectly duplicate the old lifelines, with the exact same measurements (and possibly in another material).
It’s also possible to take the DIY route, which is not easy: in fact, it’s necessary, or even mandatory, to have a tool capable of crimping cables, namely a professional manual crimping tool for crimping and splicing steel cables. This can cost several hundred euros. Let’s assume we buy it or borrow it: at that point, the biggest challenge will be to perfectly replicate the original measurements, and then reuse the turnbuckles already present on the boat, to reduce costs. Provided they are in good condition! In short, before taking the DIY route, it’s good to ensure you have the tools, time available, and patience.