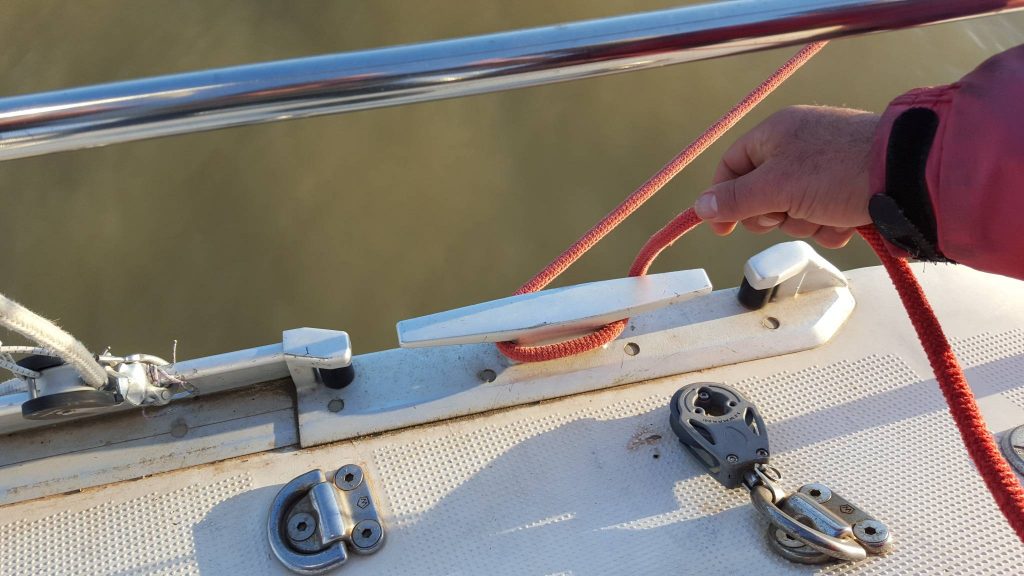
The cleat hitch, commonly called cleat knot, should not even be considered a knot. In fact, it is nothing more than taking turns with the mooring line that arrives from the dock, without securing it in any way, around the cleat.
To begin, pass the line that arrives from the dock in front of the cleat that faces toward the bow.
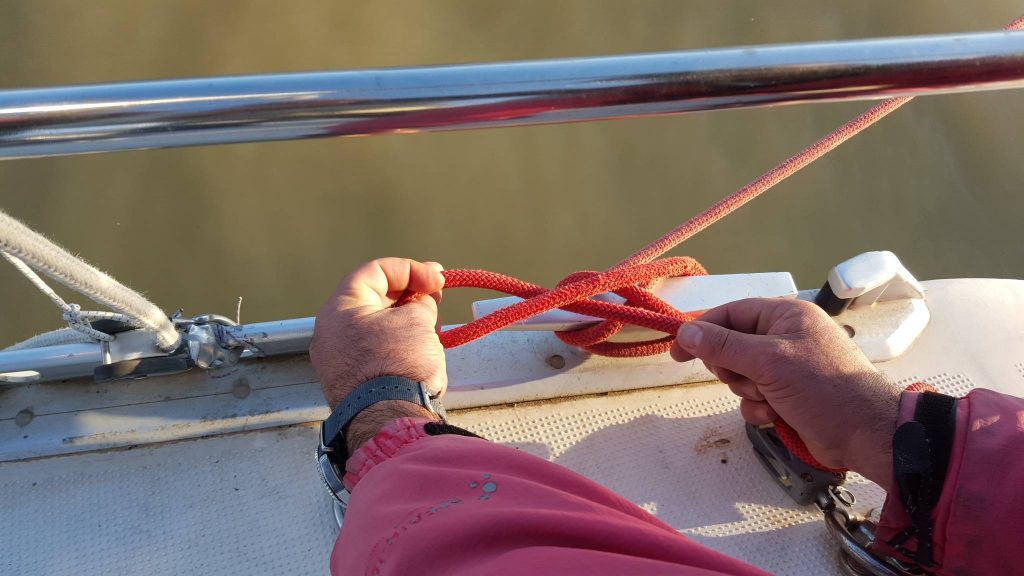
 Drawing a “0” at the base of the cleat stops the possible tension exerted by the boat and subsequently make a “8” crossing the working end.
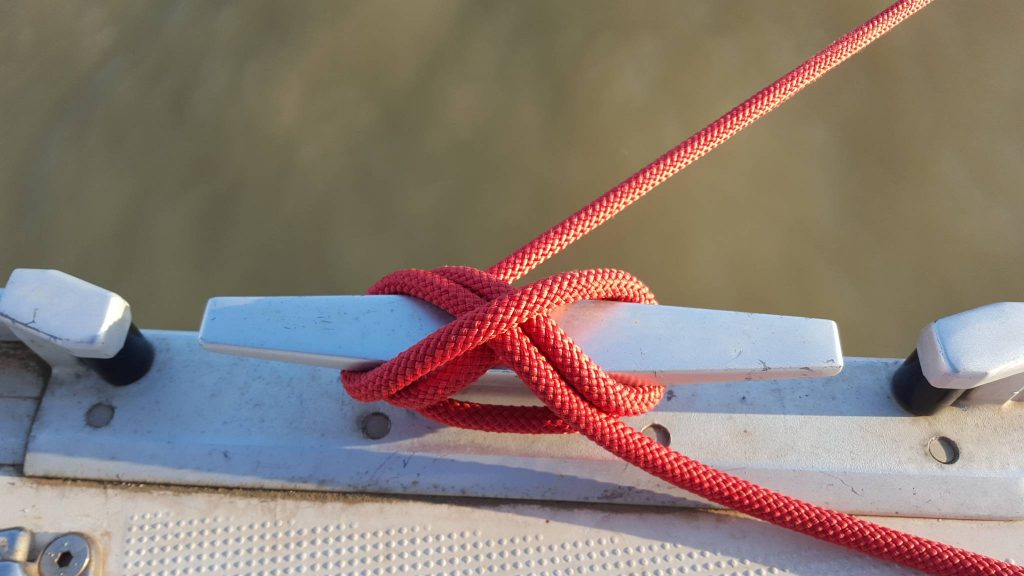
To complete the cleat hitch, you must make a half hitch.
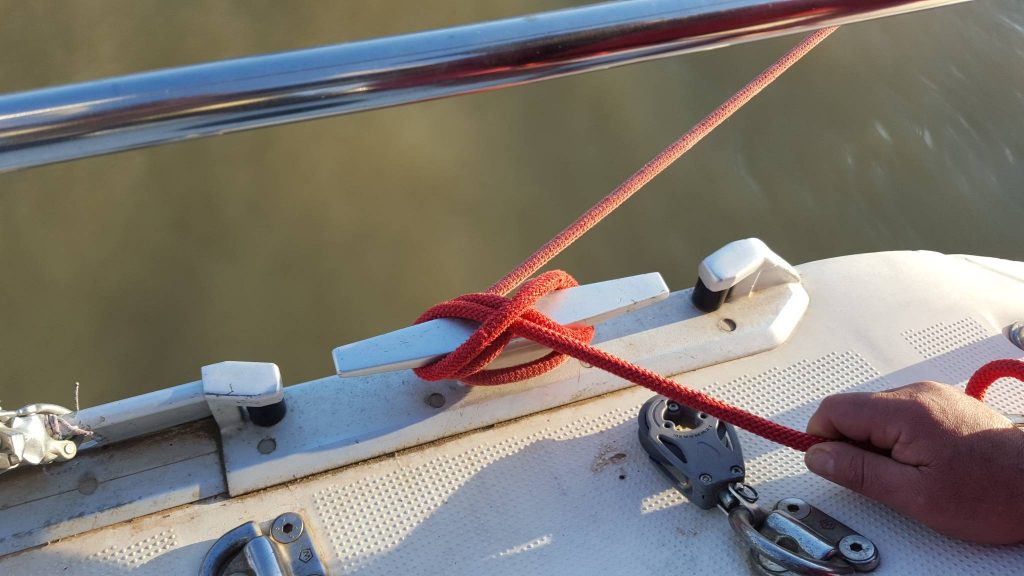
This final step exists in another variant, according to which you must draw an “OXO”, making a zero at the base of the cleat, an 8 and then a second zero. In this way you technically avoid having too many problems releasing the turns in case the lines have become too tight.
Not Only the Cleat Hitch, Here are other Examples.
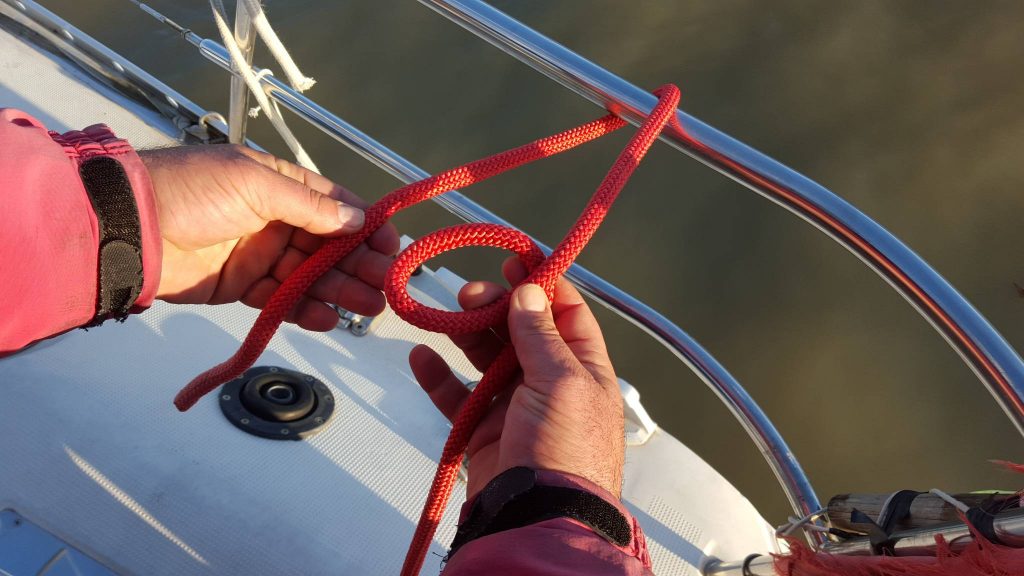
Another knot that can be useful to us and that resists tension well is the bowline. Essentially it creates a secure loop that is easy to untie in any circumstance.
To execute it, start by creating a loop and bringing the standing line over the working end.
 Next, pass it under the working end through the loop that has formed, then pass it under the standing line almost as if they were embracing.
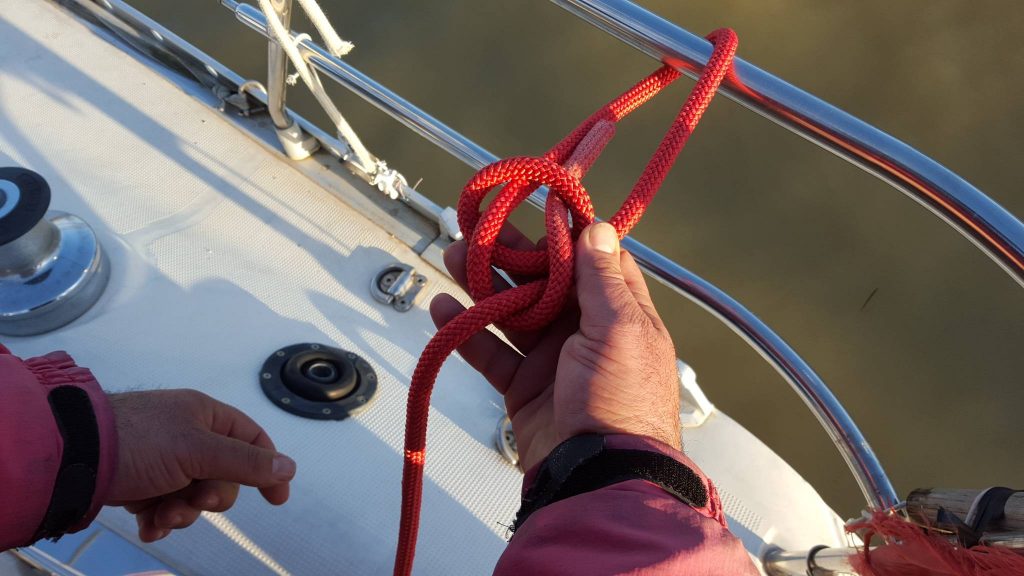 To complete the bowline, the working end returns through the loop parallel to itself and, by tightening, the knot is made.
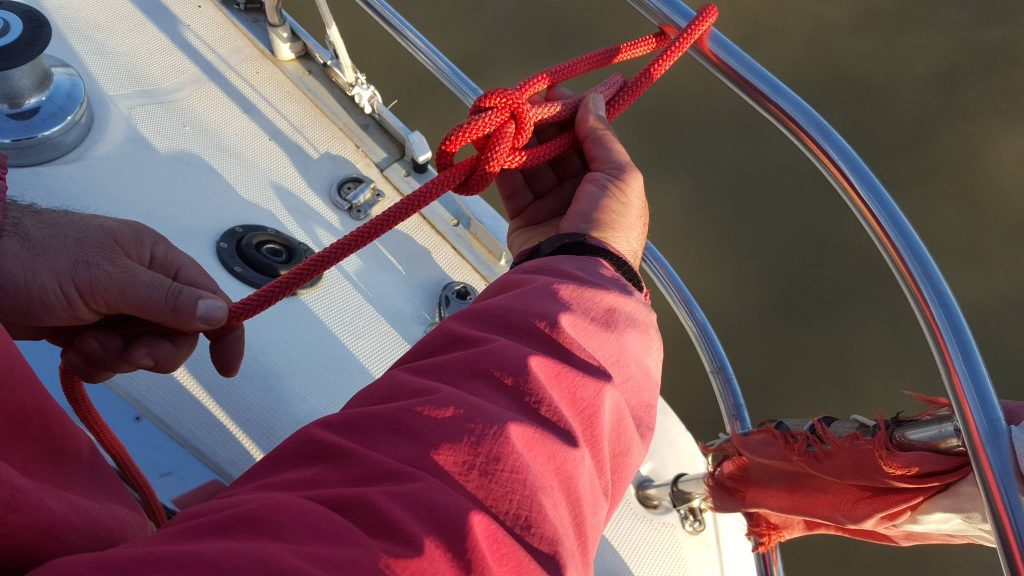 However, you must remember one very important thing: the bowline is resistant to tension only when it itself is under tension. This happens because if it were not, it could easily come undone by itself. On the other hand, tying this knot on a line already under tension is practically impossible.